Homemade Tie
Once I started learning to tie different tie knots, I quickly started thinking of making my own ties. I read quite a few different tutorials and watched a few youtube videos. One good idea from a youtube video is to buy an old tie from a thrift shop, unstitch it and use it as a template. Gentleman Jim also advised that thrift shop ties are a good source of the interfacing material (inside of the tie to give it bulk).
However, despite Gentleman Jim’s advice, I decided to buy a pattern from Spotlight; Simplicity 9192. I also purchased some thin interface fabric and a length of cotton fabric with Pukekos printed on. I chose cotton as I heard that it is easier to work with for a beginner (as opposed to common tie fabrics of polyester or silk), and I decided on thin interface as I wanted a thinner tie (hard to buy ties that are thin). From the pattern, I cut out the smaller width tie pattern (there were two patterns of different widths) and then traced the outlines of all pattern pieces onto thick cardboard. I then cut the cardboard pattern using a craft knife.
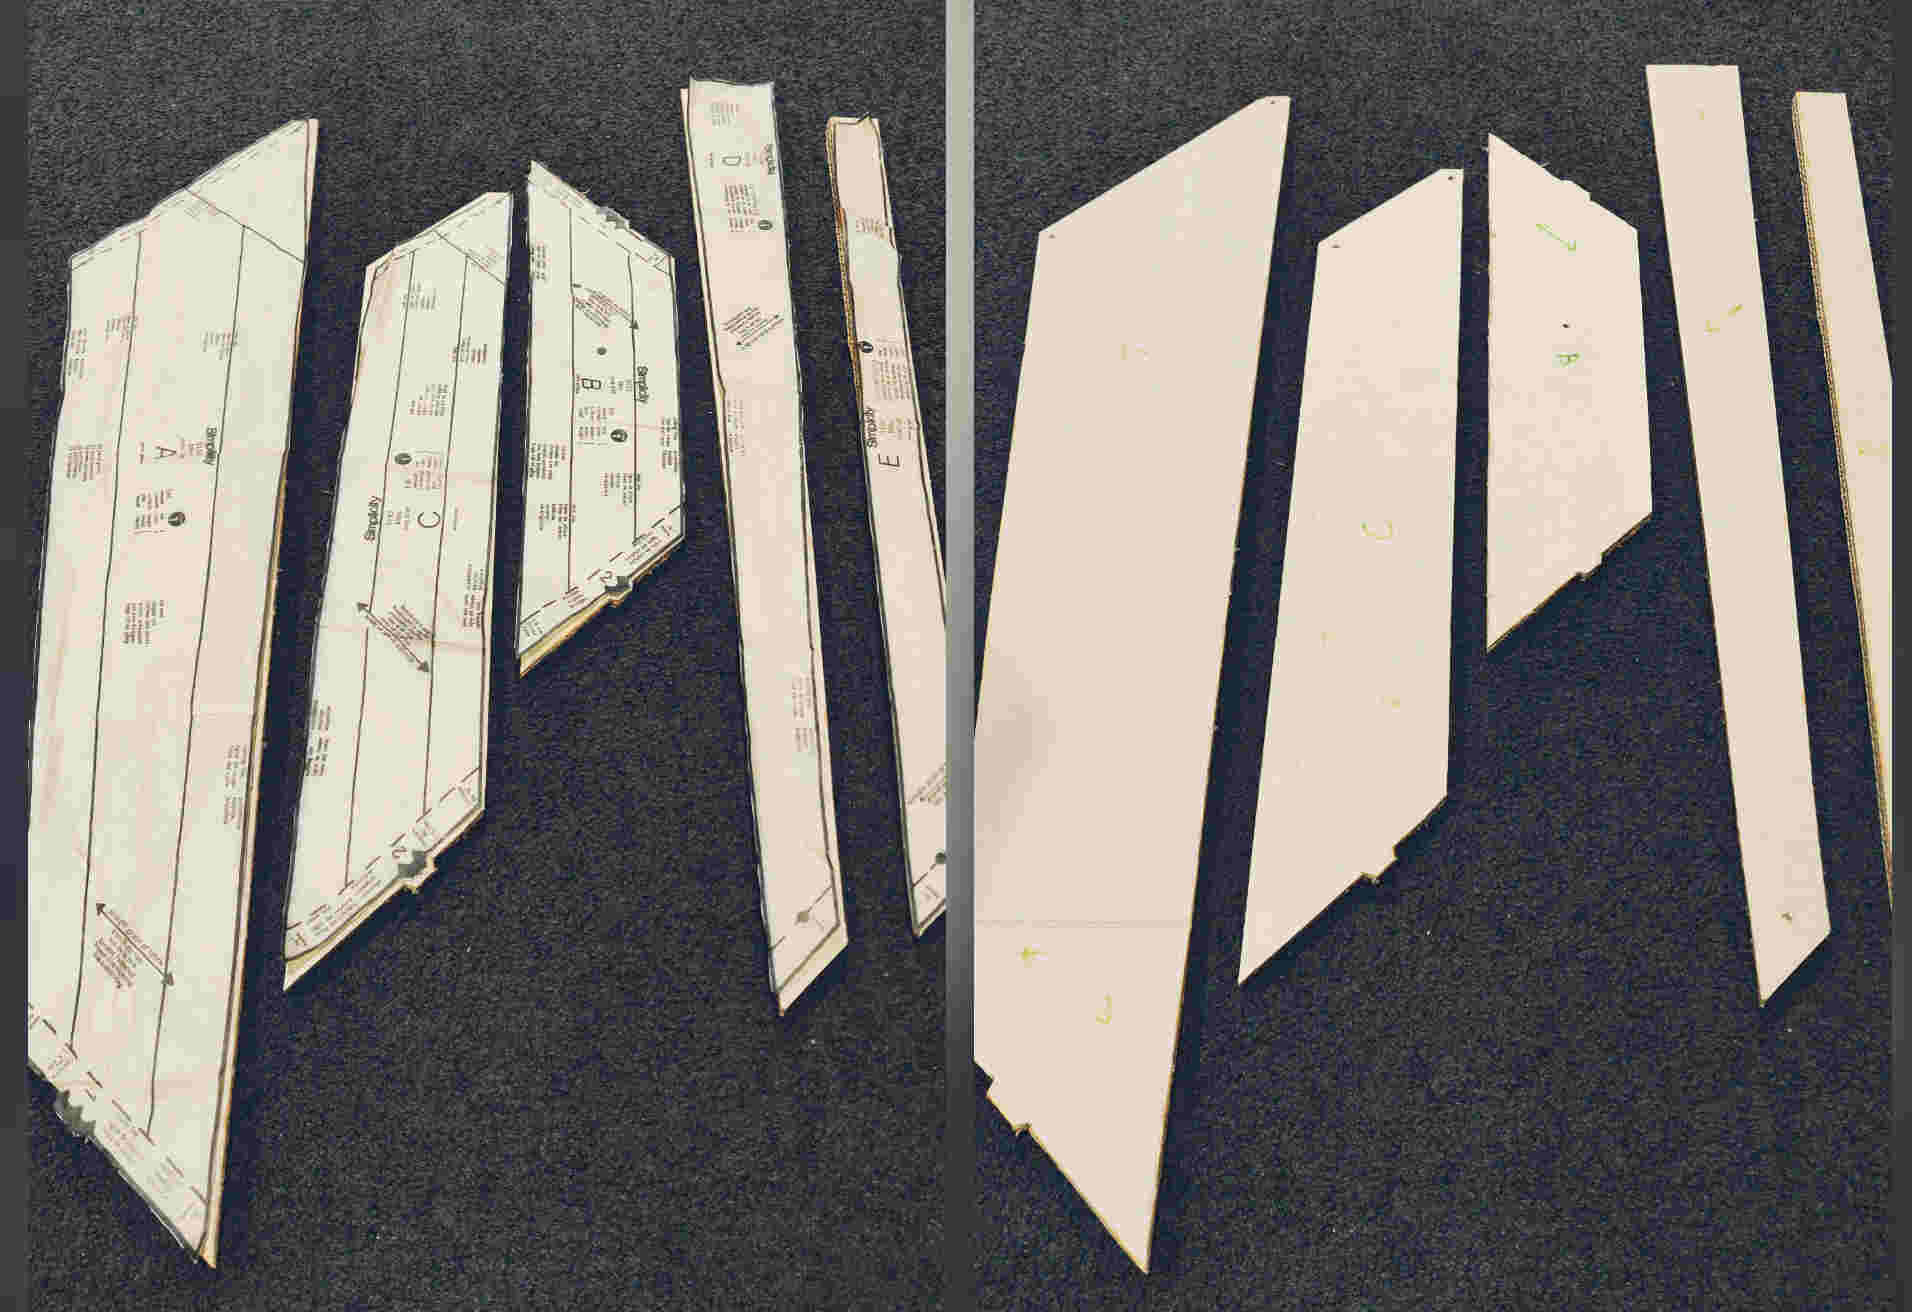
The cardboard patterns were then placed onto the fabric following the instructions to cut on the bias (on the 45-degree angle). The bias cut of the fabric is stretchy and therefore will drape around the neck nicely. The same was done for the interface material. I then machine sewed the three pieces of the tie and also the ends. Next was to sew the two pieces of interfacing, again using the sewing machine.
The next step was challenging. I probably should have overlaid the paper pattern and folded along the indicated fold lines, but I didn’t. Instead, I plowed ahead and eyed up where to fold the tie. Ironing the folds helped to crease the fabric and keep the tie folded. However, I had trouble getting the tie symmetric along the length, and I had to re-iron mulitple times. The end result was that I managed to get the front of the tie fairly symmetrical, but the folded edges at the back of the tie did not meet in the centre.
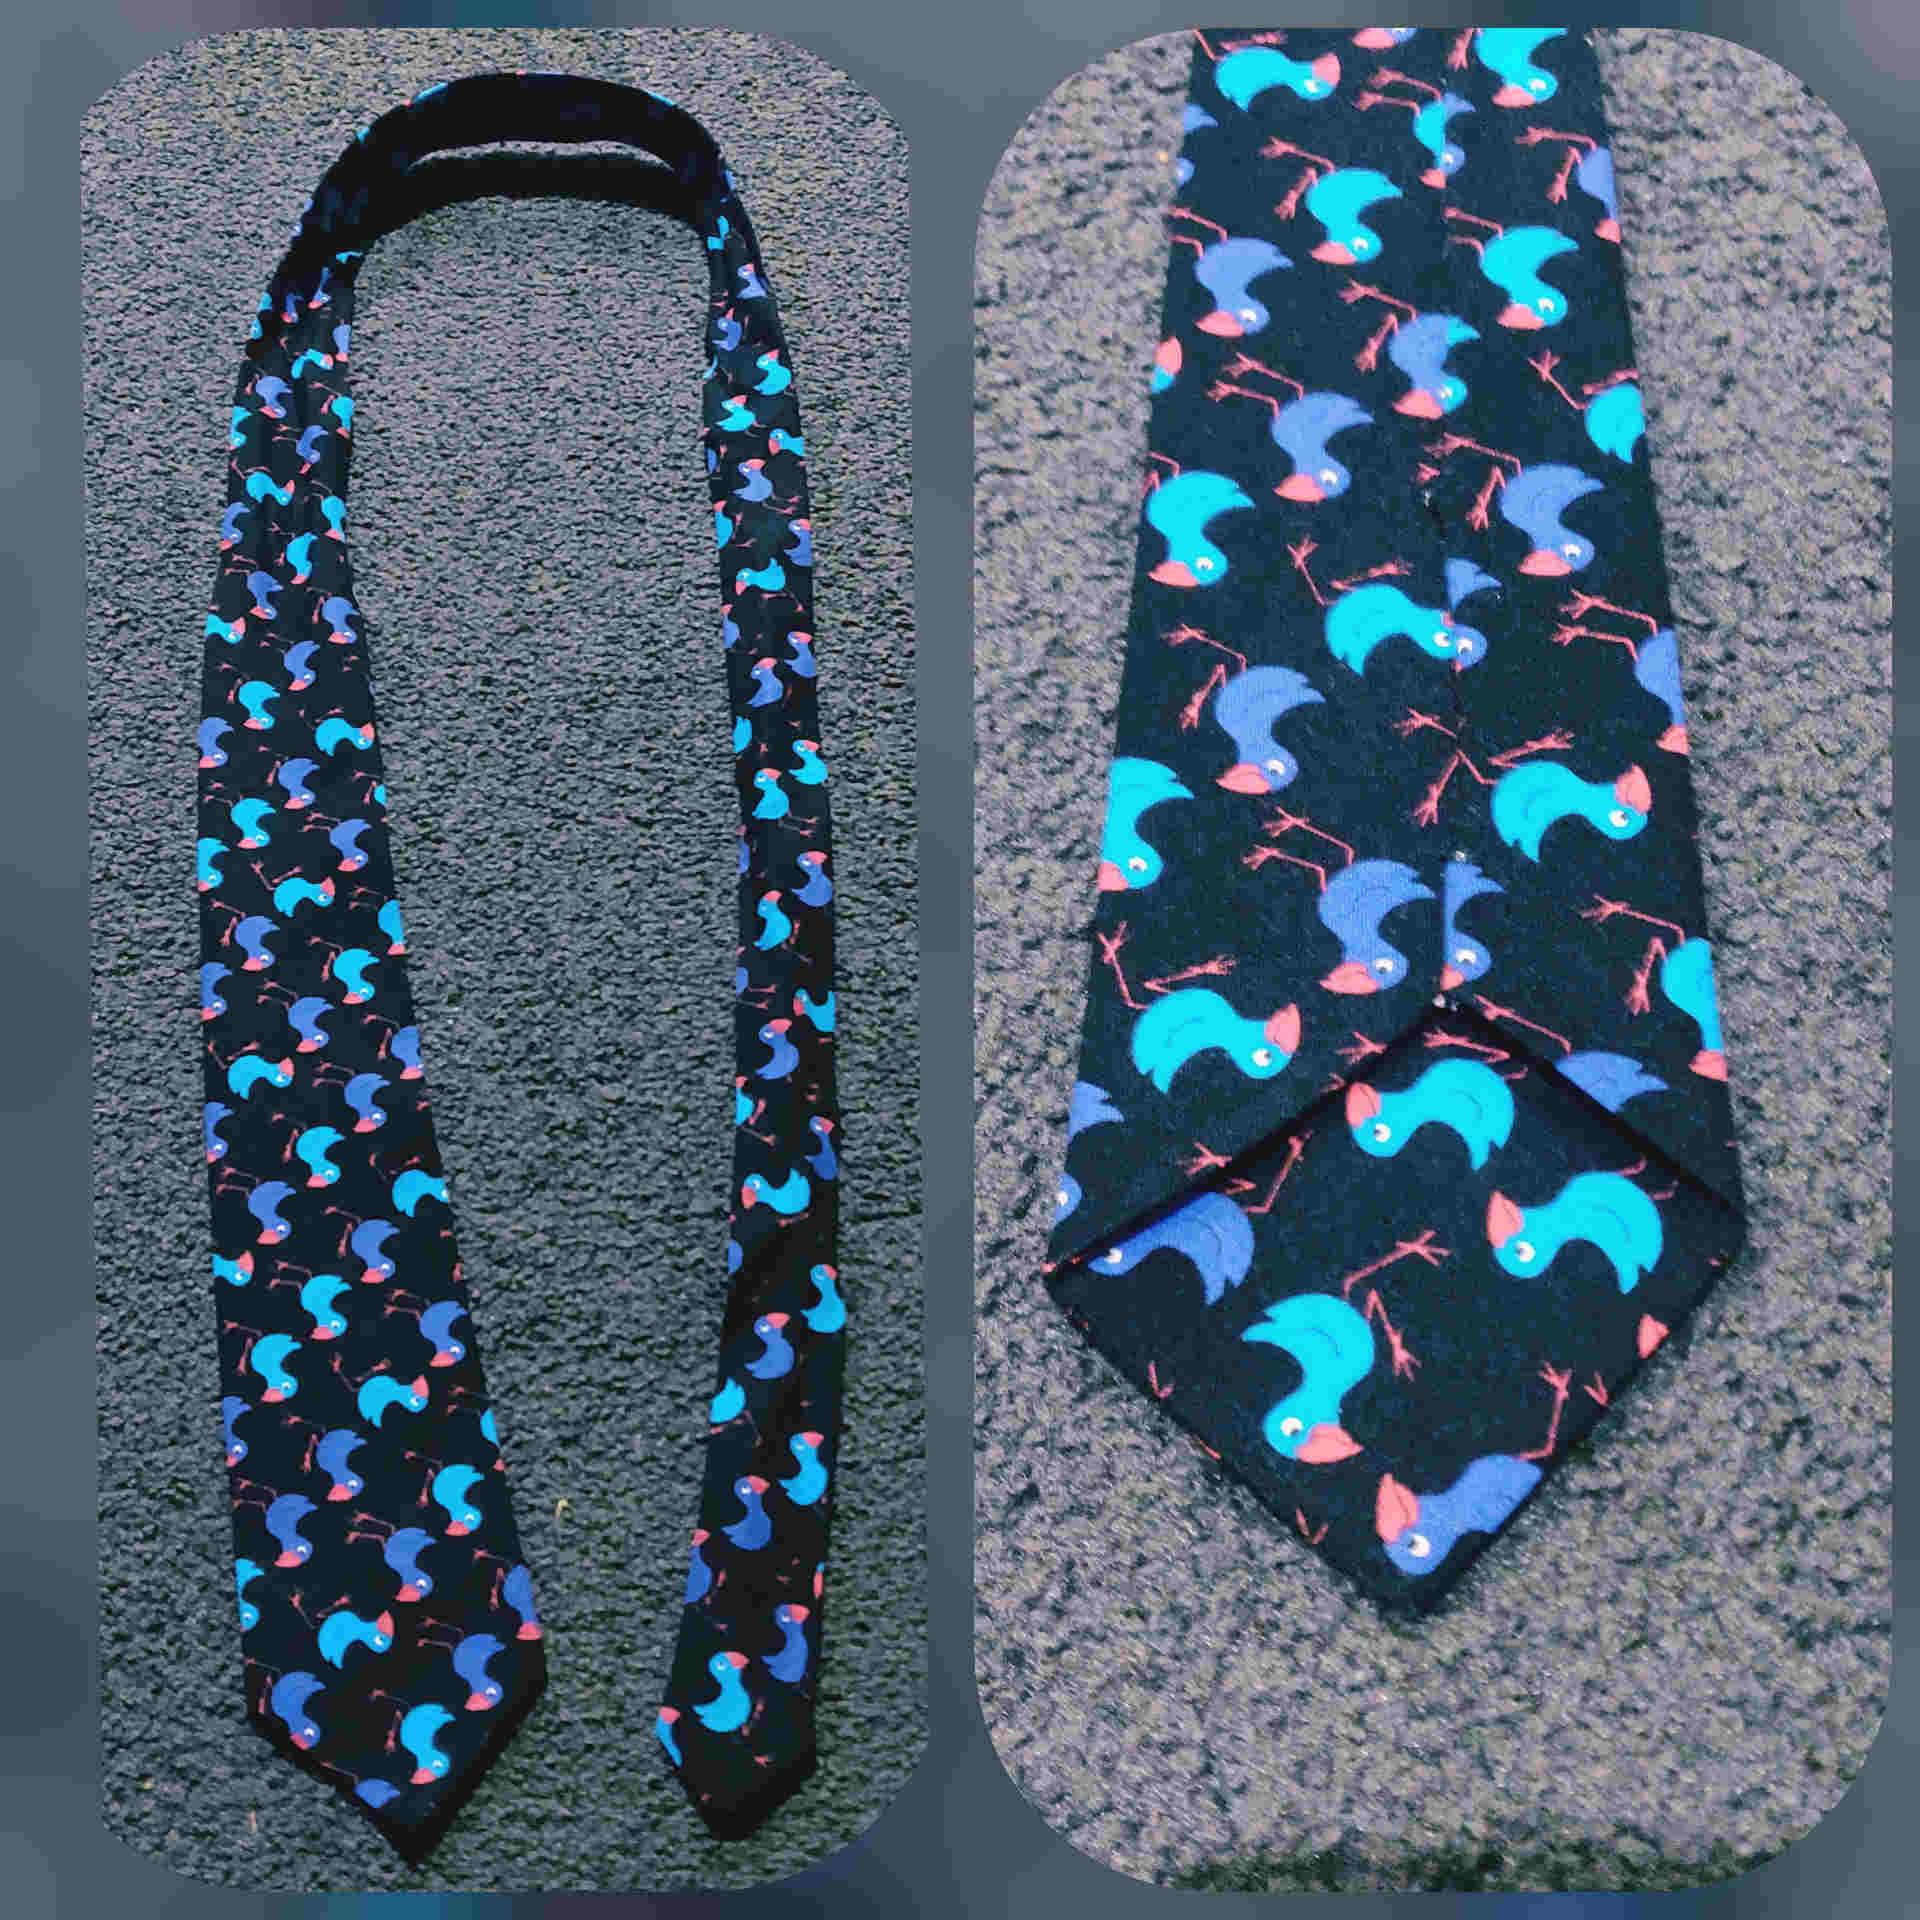
I placed the interface into the tie and it managed to fit in just fine. The final step was to then slip stitch up the length of the tie to keep the stitches as invisible as possible. I followed the hand stitching part of the following tie making video.
I wanted to use only one length of thread, to avoid having to knot off and start again part way up the tie. I applied beeswax lip balm to the thread to try and prevent the thread from tangling. I think it did help, but I did end up tangling the thread twice. The first time I had to tie it off and start again. The second time, I reduced the tangle as small as possible, then forcibly pulled the tangle through each stitch. Both times were near the end of the tie, so I was probably tired by then and was losing concentration.
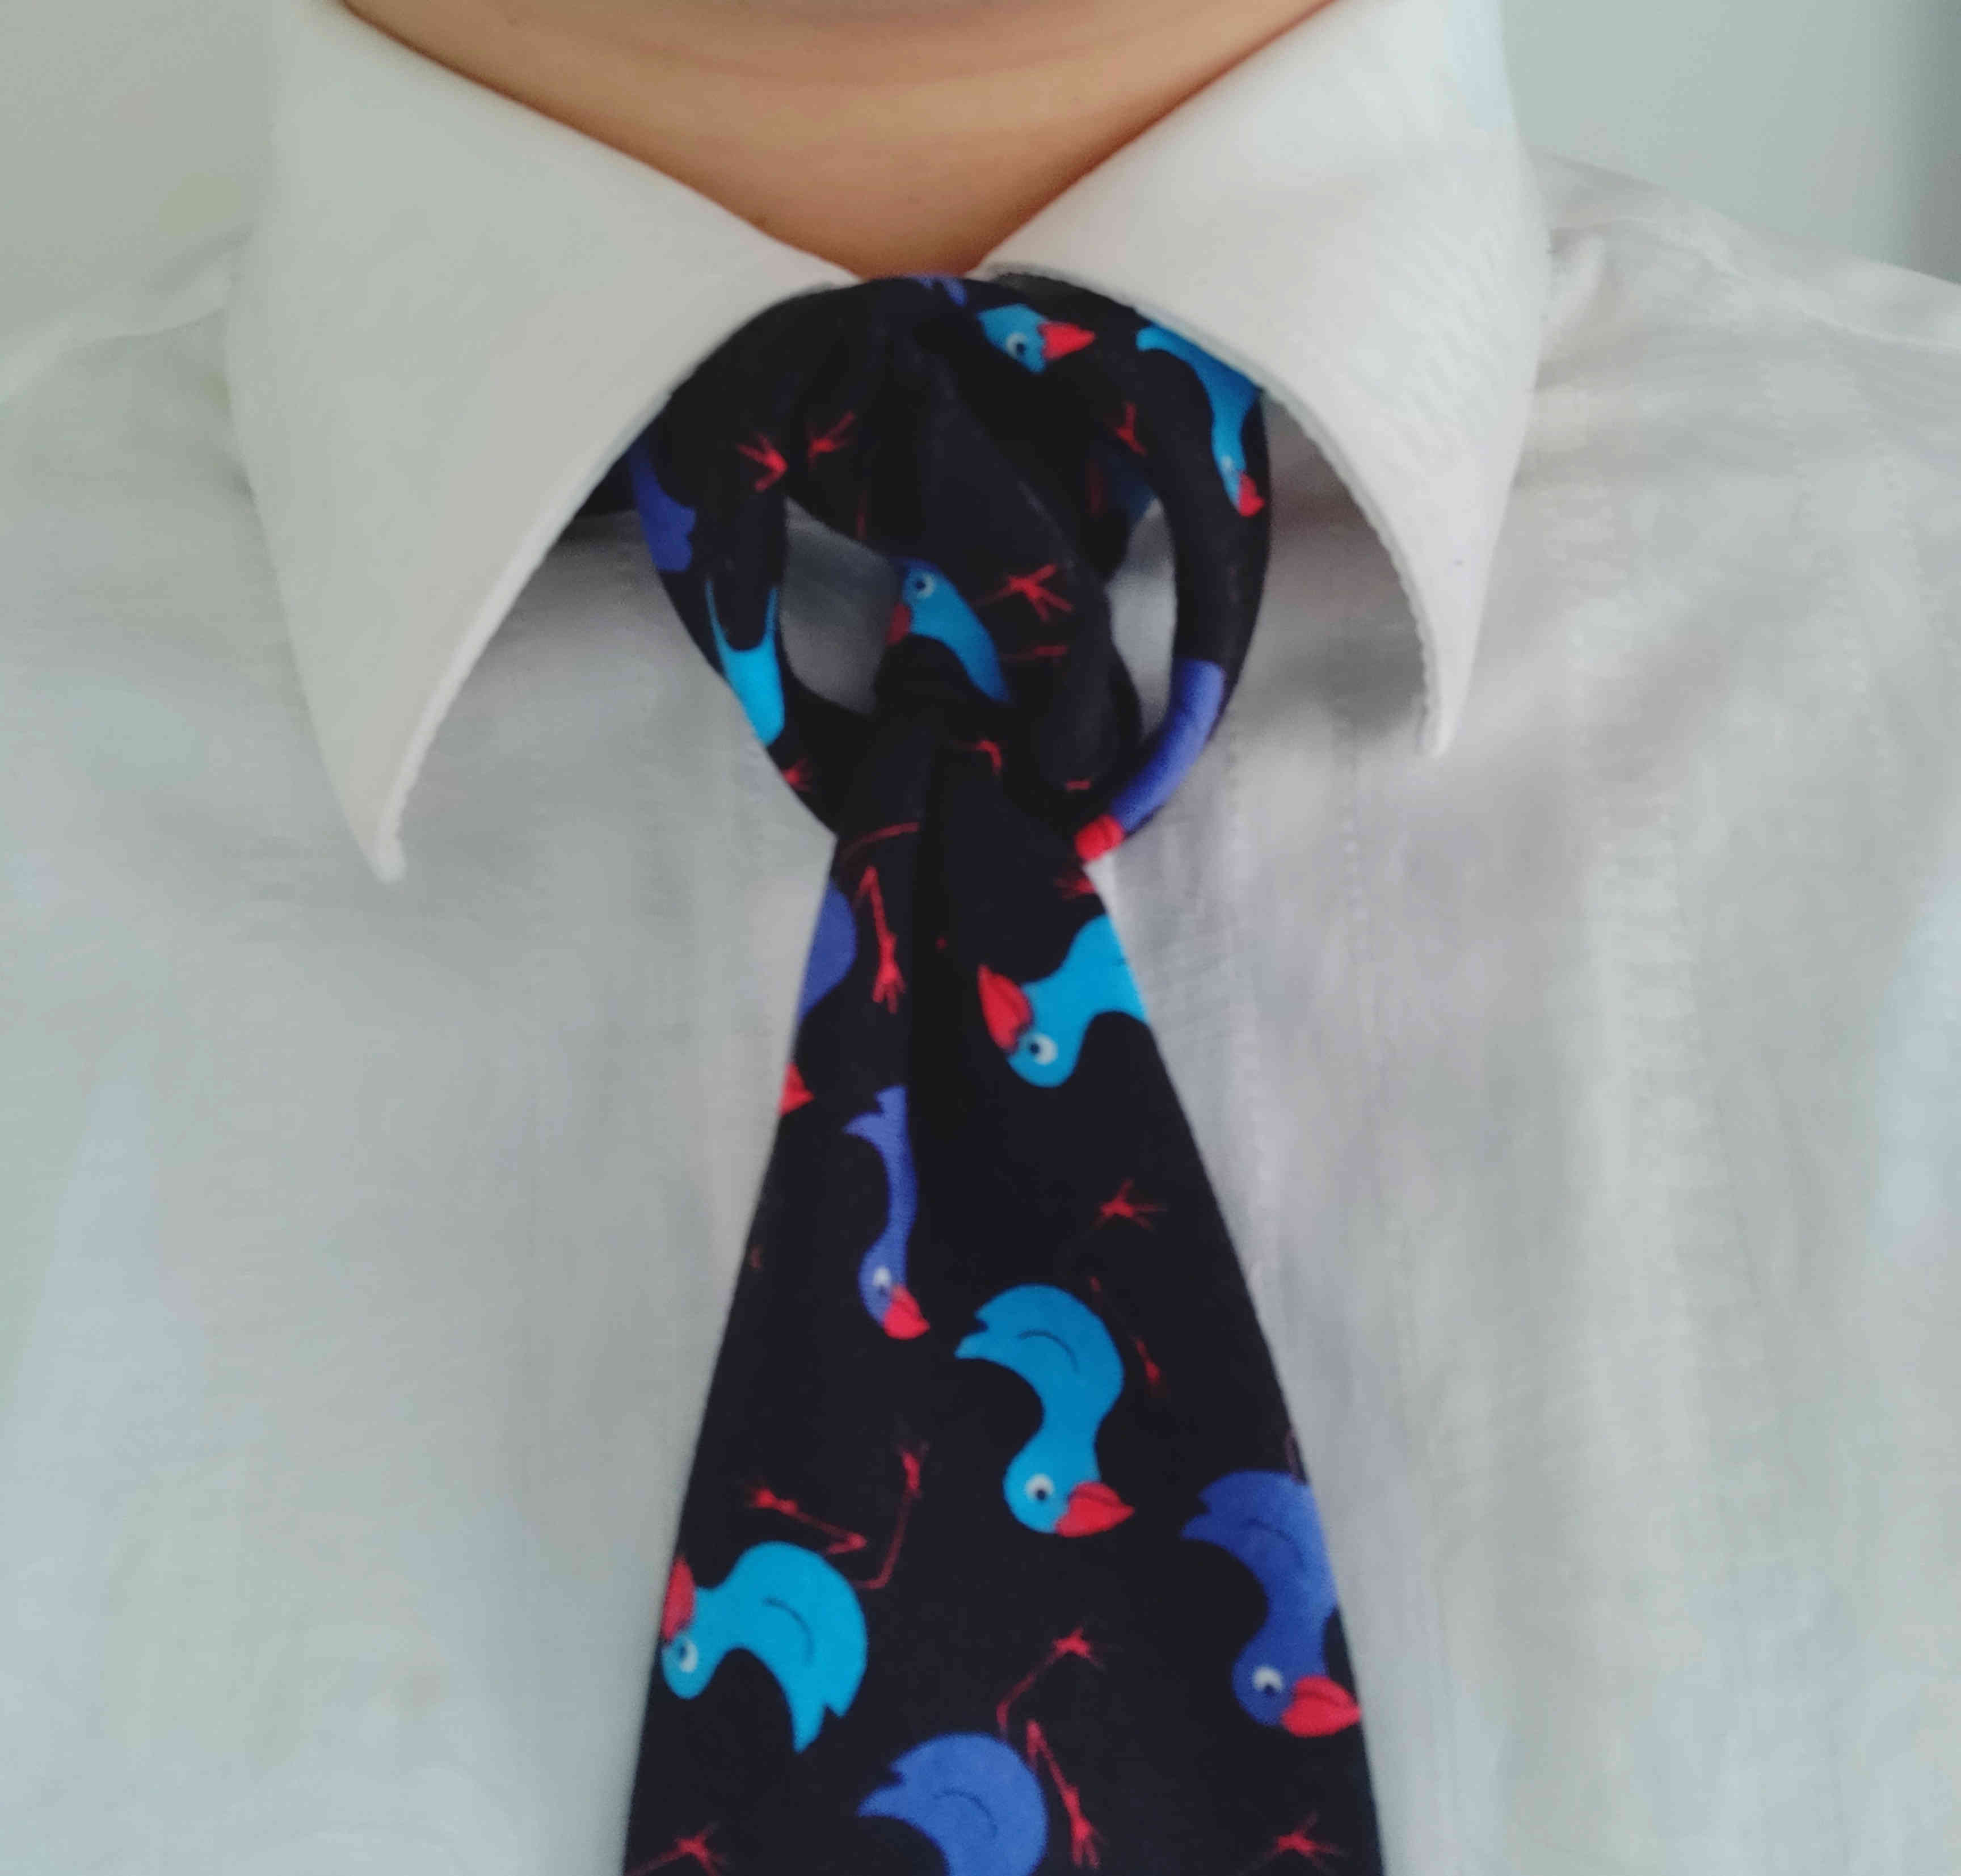
With my tie finished, I tried it on, and then realised why ties are normally made from polyester or silk; cotton ties do not slide very well, so it is difficult to tie the knots. So, I came up with my own knot that is loose and airy. My colleague came up with the name for the knot: Supernova. The circular shaped shell of the knot reminded him of a supernova nebula.
This page has been read … times.